How to Add Your Personal Brand to the Customer Service Portal
So you’re managing your customers using HubSpot huh? Good choice! HubSpot is a great way to keep track of them through emails, records, and the native customer portal.
But there’s where you hit a snag:
The native HubSpot customer portal has very limited customization features.
You really want to add your company branding to the portal but just can’t. Fortunately, we here at hapily have created the Customer Service Portal! It’s an app that allows you to create your own custom portal to interact with your customers.
But the real kicker here is the amount of customization options available to you. Want to add your company logo? Go ahead! Color not suiting your needs? Change it! Let’s take a look at how you can make your new customer portal look the way you want it to.
How to access the general portal settings for the Customer Service Portal
Most of the customization can be done from the same page. But you need to know where that is.
First log into your hapily admin portal here. You’ll be prompted to create one of these when you install the app (if you’ve never installed a hapily app before). Then just click Customer Service Portal > General Portal Settings in the left sidebar.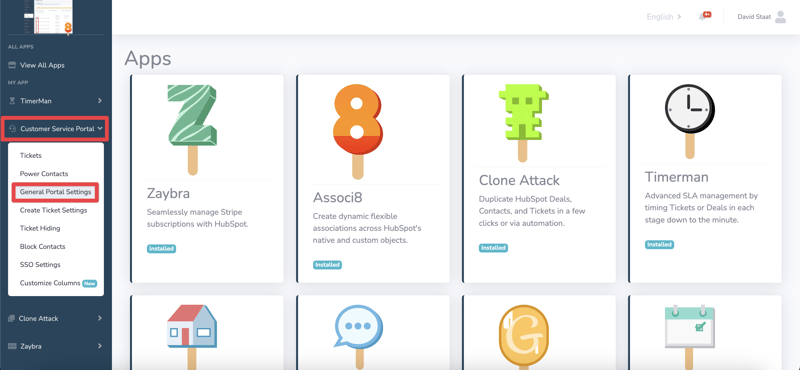
Now we can get cooking! Let’s look at a few different ways to add company branding to this portal.
How to change the Customer Service Portal title
This one is as easy as typing! Literally. Next to the Customer Portal Title field, just type in your company name.
I had “We’ll help you!” entered here when I first set up this portal. But that’s not working for me anymore. I changed the name to DBC Support and clicked Update Portal Settings at the top right of the page.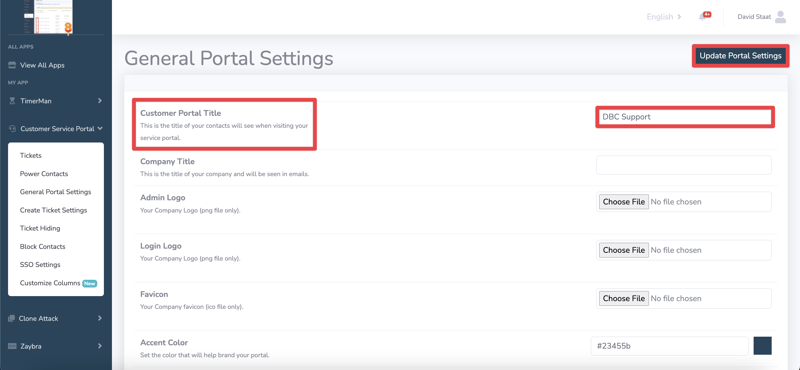
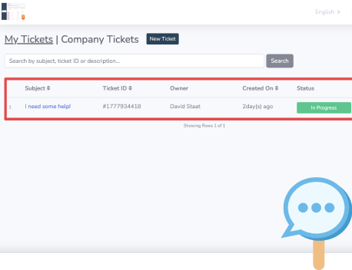
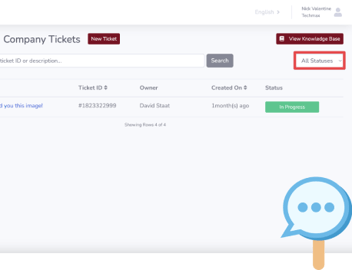
If we check out the portal from the customer’s side, we can see that the new title has been added!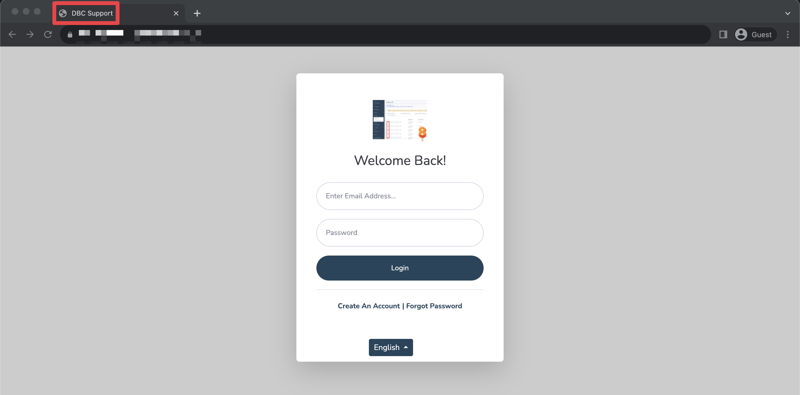
How to show your company name in emails sent through the Customer Service Portal
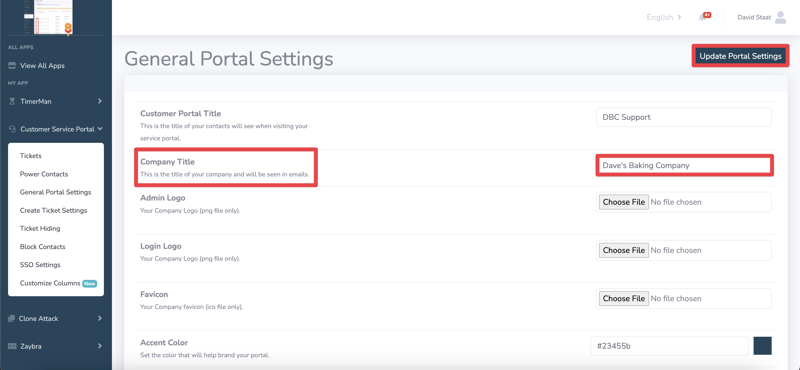
Customers like to know that the emails they’re receiving are from you and not some random man who thought impersonating you would be funny. That’s why you’ll want to add your Company title to any outgoing emails sent to them.
This works exactly the same way as the portal title. Just enter your company name in the Company Title field and click Update Portal Settings.
How to add your company logo to the Customer Service Portal
This is the big one! People in general respond best to nice visual branding. So you’ll definitely want to add your own company logo to your portal. We can do this using the Admin Logo and Login Logo fields on the general portal settings!
I currently have a stock screenshot as my company logo. But there’s one problem with it: it’s a stock screenshot.
I’d like something that looks a bit more professional so I’ll add my own logo! Next to either field, click Choose File. From there, you’ll select a PNG file from your computer and click Open. After that, just click Update Portal Settings.
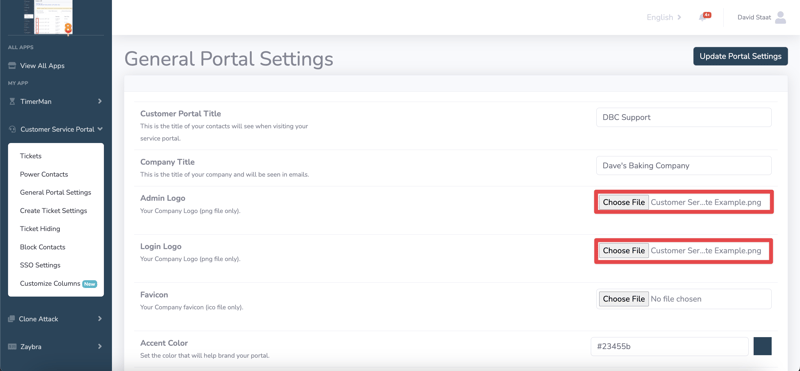
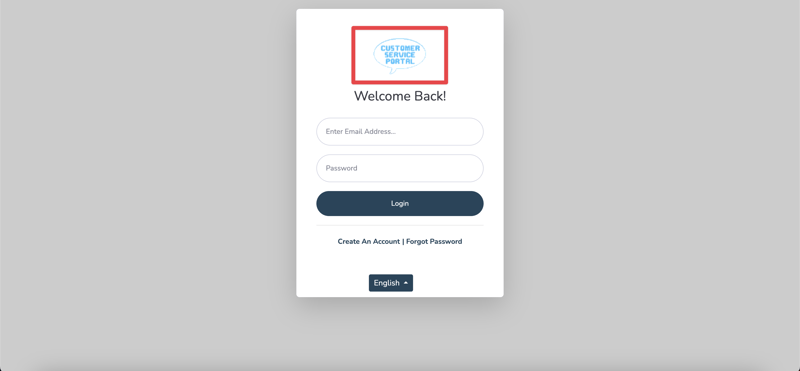
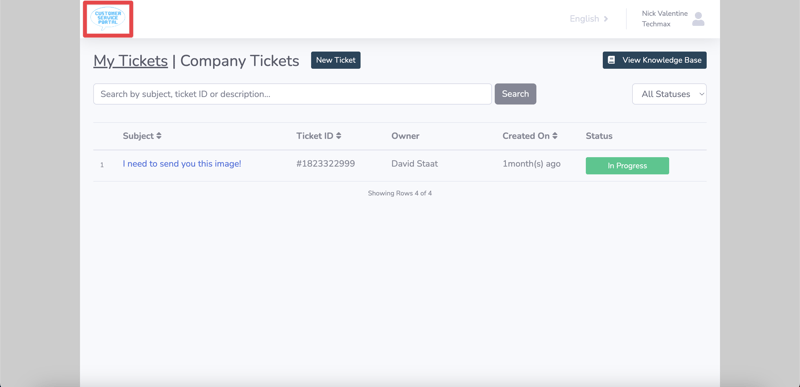
Once you’ve added your logo to both fields, it will appear on your side of the portal…
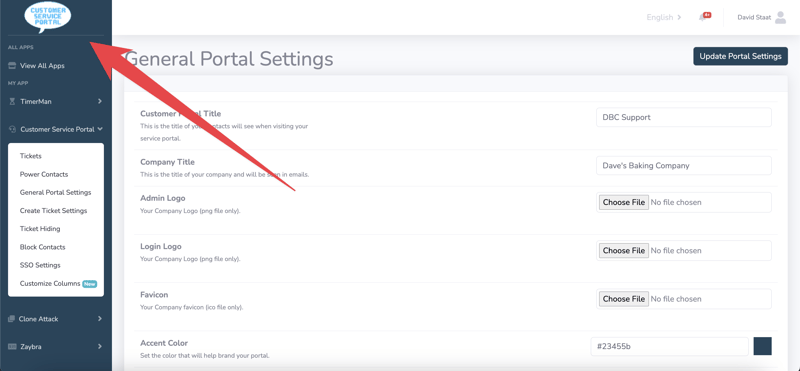
… on the customer login page…
… and on the customer’s side of the portal!
How to change the accent color on the Customer Service Portal
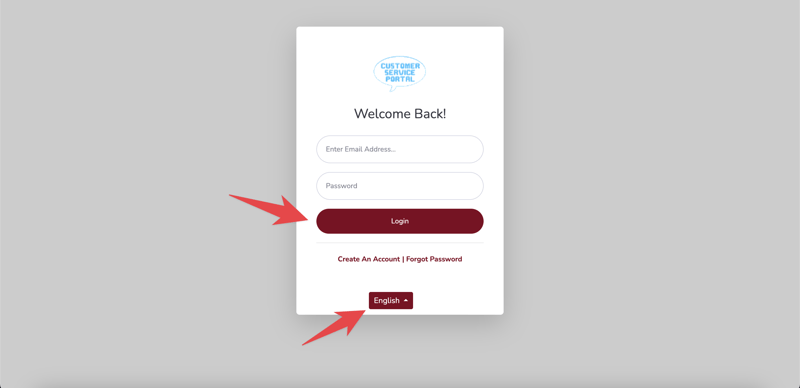
Last but not least, let’s take a look at the accent color. This will affect the color theme used all throughout your customer portal (both your side and the customer side).
I don’t think the default color quite matches my baking company (which is totally not fake by the way). Let’s change it to a burgundy color using the Accent Color field!
This field uses Hex Color Codes. Most art apps (Piskel, Microsoft paint, etc.) show the hex code in their color mixers. If those aren’t available, a simple Google search can help you find the color code you need.
The hex code for burgundy is #800020 so that’s what I’ll enter into the Accent Color field. Once the code is entered, be sure to click Update Portal Settings (you know the drill by this point)!
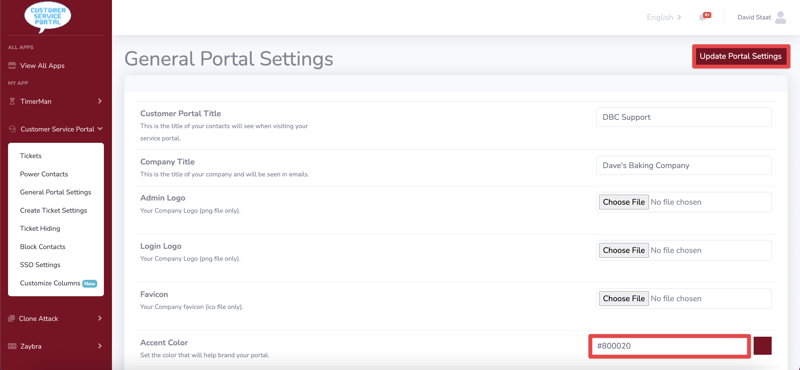
Your side of the portal should update as soon as you enter the code in. But once you click Update Portal Settings you'll be able to see it on your customers' side too!
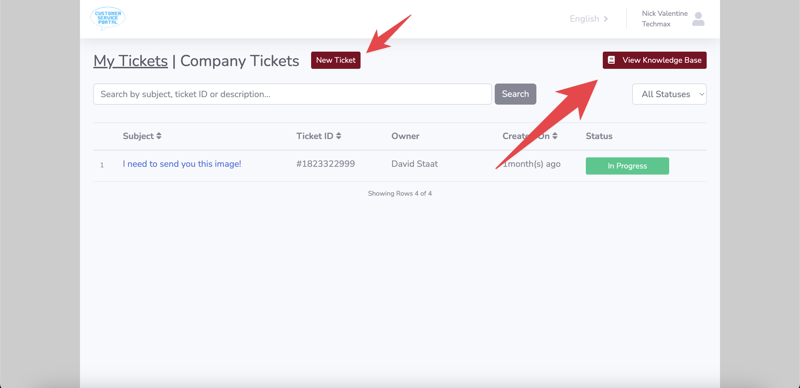
And that’s all there is to it! There are additional customization features not related to company branding available too. You can read up on them in this knowledge base article.
If you enjoyed this post, why not share it with your friends? And if you want to see what else the app can do, check out this blog post on How to Customize Ticket Columns In the Customer Service Portal!


